Creating flawless print-ready files in Welling is essential to getting professional-quality results without delays, errors, or extra costs. Whether you’re printing marketing materials, business stationery, or event posters, proper file preparation ensures a smooth transition from digital design to physical print. Understanding how to optimise your files for professional output saves time, preserves quality, and maintains brand integrity.
At Printingprogress, we help local businesses and individuals turn creative concepts into polished printed products. As one of the leading local printers in Welling, our expert team can assist with everything from printing file preparation in Welling to final production.
Call us on 0800 999 1094 or email us at info@printingprogress.co.uk to discuss your next project.
At Printingprogress, we empower your design journey with precision, speed, and professional support from file to final print.
Understanding The Basics Of Print File Setup In Welling
Steps To Prepare Print-Ready Files In Welling: Your Essential Guide
Preparing files for print might seem technical, but breaking it down step-by-step ensures clarity. Here’s your comprehensive print-ready file guide in Welling to follow every time you plan to print:
1. Set The Correct Document Size And Bleed
Always use the final trimmed size, with a 3mm bleed on all sides. This extra margin allows printers to cut down to the correct size without affecting your design.
-
Trim size is the finished size (e.g., A5, A4)
-
Bleed area ensures no white borders appear after trimming
-
Safe zone keeps essential elements away from edges
2. Use High Resolution For Sharp Prints
Your design should be set at 300dpi (dots per inch) for the best print clarity. Lower resolutions can lead to blurred or pixelated results, especially in large formats like posters or flyers.
-
Avoid using web images (usually 72dpi)
-
Export raster graphics at high quality
3. Choose The Right Colour Mode
Printers use CMYK (Cyan, Magenta, Yellow, Black) rather than RGB (Red, Green, Blue). Convert your files to CMYK to ensure the colours on your screen match the final print as closely as possible.
-
Software like Adobe InDesign or Illustrator can handle this easily
-
Avoid using spot colours unless your printer specifies it
4. Embed Fonts And Convert To Outlines
To avoid missing or substituted fonts, always embed them or convert text to outlines.
-
Embedded fonts retain the exact style and layout
-
Outlining text turns it into shapes, avoiding font mismatch
5. Use Suitable File Formats
For most professional printers, PDF (Print Ready) is the preferred format. It preserves design elements, layers, and vector graphics.
-
Save with crop marks and bleed
-
Flatten transparencies if required
Other accepted formats:
-
AI, EPS (for vector files)
-
TIFF (for high-resolution raster images)
-
JPEG (only if saved at maximum quality)
6. Review Image And Text Placement
Keep essential elements (logos, addresses, headlines) within the safe zone—around 5mm from the trim line. This prevents them from being cut off.
-
Ensure no critical text is too close to the edge
-
Watch for text overflow or line breaks in exports
7. Preflight Check Before Submission
Before sending your file to your printer, do a final preflight check:
-
Are the colours CMYK?
-
Is the resolution 300dpi?
-
Is the bleed included?
-
Fonts embedded or outlined?
-
Saved in the right format?
Some design tools offer built-in preflight tools to help with this final check.
Common Mistakes To Avoid In Design For Print In Welling
Avoiding these common errors during design for print in Welling will save you costly reprints and ensure a professional finish.
1. Ignoring Bleed And Crop Marks
This results in off-centre prints or unwanted white edges.
2. Using Low-Resolution Images
Always stick to 300dpi. Screens may forgive, print will not.
3. Relying On RGB Colours
Files submitted in RGB can shift dramatically in colour output.
4. Not Flattening Layers Or Transparencies
Transparency issues can cause elements to print incorrectly.
5. Sending Editable Or Wrong File Types
Avoid sending Word or PowerPoint files. Always export to high-res PDF.
6. Overusing Fonts And Styles
Keep typography clean and professional. Avoid clutter.
Whether you’re a business in need of marketing materials or an event organiser requiring bulk flyers, partnering with the right neighbourhood print shops in Welling makes the process effortless.
Ensure Flawless Prints With Printingprogress
Getting your print file setup in Welling right from the start is the key to a stress-free and successful printing experience. At Printingprogress, we provide expert support in how to prepare files for printing in Welling with hands-on guidance, quick turnarounds, and attention to detail.
Whether you’re preparing business cards, brochures, flyers, or large format banners, our team is here to make it perfect. For personalised advice and local expertise, rely on the trusted name in Welling’s print industry.
Call us on 0800 999 1094 or email us at info@printingprogress.co.uk to get your print files checked and printed professionally.
FAQs
1. What is bleed and why is it needed in print-ready files?
Bleed refers to the extra space around your artwork that allows for clean trimming. It’s vital to prevent white borders and ensure precise cutting.
2. Can I use Word or PowerPoint files for professional printing?
No. These are not designed for print. Convert your design into a high-res PDF with correct settings before submission.
3. Should I convert all text to outlines?
Yes, especially if you’re unsure the printer has your fonts. This avoids font substitution and layout issues.
4. What resolution should my images be for print?
Always use 300dpi for print. Web graphics (72dpi) will look blurry or pixelated on physical prints.
5. How do I know my file is ready for printing?
Use a preflight check: correct size, CMYK colours, bleed, 300dpi resolution, outlined fonts, and saved as PDF with crop marks.

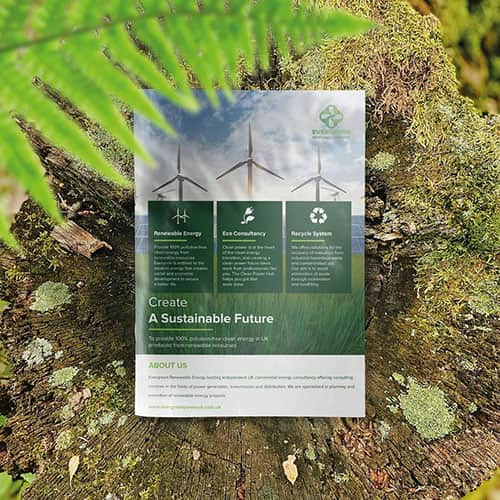 Eco friendly, sustainably sourced recycled FCS certified print
 Takeaway Screens
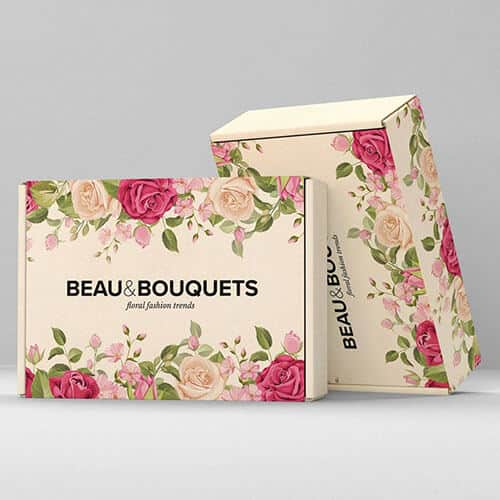 Postal Boxes